
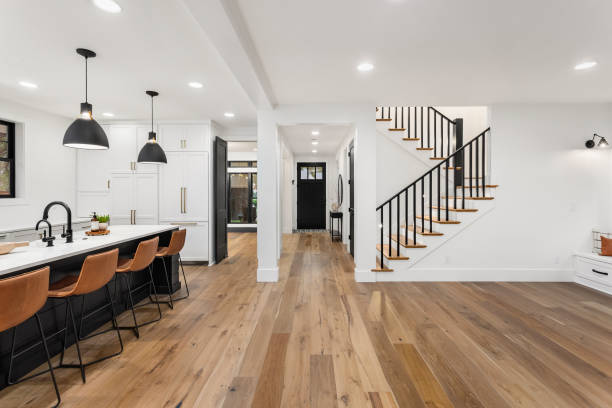

The Floor That Looks New Without Replacement
One of the most satisfying home improvement outcomes available — and one of the most underused — is refinishing existing hardwood floors. A hardwood floor that looks worn, scratched, discolored, or dated can be transformed to look genuinely new through sanding, staining (if desired), and recoating. The result is indistinguishable from new flooring at a fraction of replacement cost, and the existing floor typically has more character and quality than comparably-priced new installation.
The process is more disruptive than most homeowners anticipate, and the preparation required is more demanding than the refinishing itself. Understanding both sets realistic expectations.
Is Your Floor a Candidate for Refinishing?
Not all wood floors can be refinished. Solid hardwood floors (3/4 inch thick) have been sanded and refinished multiple times in many older homes — the floor can be checked for remaining thickness by looking at a floor register cutout or a door threshold where the edge is exposed. A floor with less than 1/4 inch of wood above the tongue groove is approaching the limit of safe sanding.
Engineered hardwood floors can be refinished if the veneer layer is thick enough — typically 3mm or more. Thinner veneers (1–2mm) don’t have adequate depth for sanding without risk of cutting through to the core. Laminate and luxury vinyl plank floors cannot be refinished — the decorative layer is printed film, not solid wood.
The Process Step by Step
Preparation: all furniture removed, floor vents covered to contain dust, transition strips removed, and any protruding nails set below the surface (a nail that hits a drum sander blade can cause significant damage). The drum sander removes the existing finish and the top layer of wood across the main floor area; an edge sander handles the perimeter; hand scraping or detail sanders address corners and tight areas.
Staining (optional): after sanding, the raw wood accepts stain if a color change is desired. The stain must dry completely before finishing begins — typically 24 hours. Staining requires consistent application and quick edge blending to avoid lap marks.
Finishing: two to three coats of polyurethane, oil-based polyurethane, or water-based finish are applied, with light sanding between coats to remove dust nibs. Each coat requires full drying time — 4–8 hours for water-based, 24 hours for oil-based. The floor must remain undisturbed (no walking, no furniture) between coats.
Dust Management: The Variable That Defines the Experience
Floor sanding generates an enormous volume of very fine wood dust. Professional drum sanders used by contractors have built-in dust collection that captures the majority of the dust — but ‘majority’ means 80–90%, not 100%. Even with dust collection, fine particulate settles throughout the space and infiltrates adjacent rooms through gaps.
Professional preparation for dust containment: plastic sheeting sealed over doorways and HVAC returns before sanding begins, covering all furniture and belongings in adjacent rooms, and planning to be out of the home for the duration of sanding and the subsequent dust settling period. Returning too soon exposes refinished floors to foot traffic that embeds fine grit into the not-yet-cured finish.
DIY vs. Professional: The Honest Assessment
Floor refinishing is one DIY project where the equipment quality gap between consumer and professional tools is significant enough to affect results. Rental drum sanders available at home improvement stores are less powerful and less well-maintained than professional equipment — they require more passes, more technique, and more experience to achieve a level result without sanding marks or uneven finish removal.
A first-time DIY refinish on a small room (under 150 square feet) is a reasonable project with patience and research. A first-time DIY refinish on a main living area with multiple rooms is high-risk — the equipment rental cost plus material cost often approaches half the professional cost, without the professional result. Get professional quotes alongside DIY cost estimates and make the decision with accurate numbers.